ANI210 - Week 10 & 11
- Dec 12, 2016
- 6 min read
Weeks 10 and 11 were spent working between two projects- the final assignment: the Unreal Room and the second to last exercise: the Reaction animation.
For our Unreal room, we went through some concepts and decided upon a theme that would be Sci-Fi, gritty and Gothic. We were set on situating our room on an alien planet and the more we brainstormed we eventually came up with an abandoned, religious cathedral.
There are 4 rooms in total: A main hall area in which proceedings and sermons would take - this would include pews, pillars, and altar and windows. The second room would be a two story library, full of bookshelves and an dilapidated staircase. The third room would be a meditation room, with a feature and alien lighting and the final room would be a balcony, with tables and chairs to sit on.
The four rooms were divided up between the four of us and I was tasked with the meditation room.
For my room I went into detail about the assets that I wanted to create. I wanted a spin-off of a water feature which would serve as the feature for this room and that would give my room a sort of character. Water features are a common feature in mediation in today's world and I felt that I could translate it welll into an alient planet with some changes to the design.
Being a meditation room, I wanted to further differentiate it from the rest of the cathedral while still keeping true to the theme. We all decided that there would be common, recurring elements to all our rooms which would add to the consistency of the whole design - this would include color schemes, textures and crystal assets. Furthermore, I looked at rooms that mirrored my meditation room in terms of it's reason for existing: I looked at hospitals and how they all include multiple rooms to cater for different religions for people to pray in. The hospital as a whole follows a certain theme in terms of architecture and color schemes, however when you walk into one of the religious rooms for prayer, they're starkly contrasted and this is because a hospital doesn't compromise these prayer rooms for the sake of matching the rest of the hospital. With this in mind, I wanted to create a room all of it's own while still keeping in line with certain themes that tie it together with the rest of the rooms.
I thought to myself what an alien meditation room would look like and realized that alien species could very well be much more intelligent than we are, and perhaps they don't necessarily discount the vastness of space in their religion and so, as you'll see later on I incorporated space into my room as well.
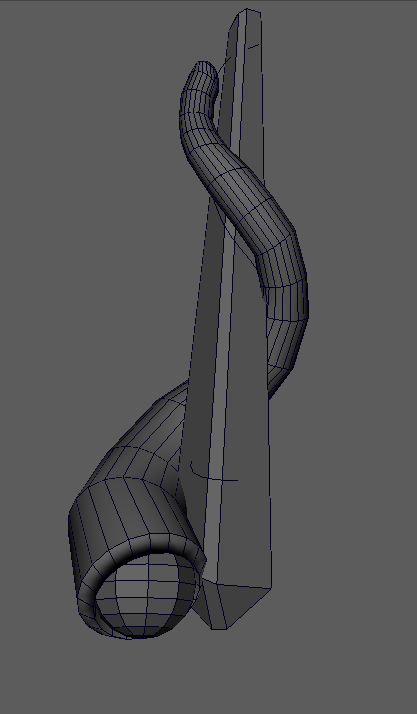
I did some crappy sketches for what the feature asset would look like. I wanted to model it like a water feature and initially wanted to use biFrost liquid FX to generate water, then bake the animation and use it for the scene - but after talking with Jody, I found out that it wouldn't import into unreal and so I later created a water bubble which encompasses the sphere.

I wanted to make the sphere almost organic in its design so I included roots at the base of the sphere. Water would come out the top and there are crystals protruding from the base as well. The crystals as I mentioned above are a recurring theme in our scene.


I was really happy with the model and after running it by the guys, they were happy too. From here I went on to creating my next asset: the Lights.
For the lighting in the scene, we decided that we didn't necessarily want to use 'real lighting' - that is to say, we didn't want to use artificial lighting, like a lamp. Because we're on an alien planet we wanted ot use something different, so I decided to continue on with the crystal theme - however after creating some placeholder meshes, it looked kind of bland - so to remedy this, I though about the organic matter I used in the meditation ball feature (above). I didn't want to reuse the roots I created because I felt that might make my scene look lazily put together so I thought about the scene as a whole. it's an abandoned cathedral and usually when things are abandoned by people/aliens, then creatures typically move in over time and build their nests there. And so I decided that weird, alien slugs have moved in and build their nests near and around the crystals - the aliens themselves would emit the light (i took inspiration from those fish that dwell deep in the sea on Earth which emit light from their bodies).


I ran the idea past the guys and they were happy, so from here it was time to start UVing and texturing.
I knew I wanted to put as much effort into my room as I could (within reason given how much work is due this tri) and so I looked at each part of my assets and added detail where I could. I felt that this would be a great chance to practice my crazy bump fu (especially seeing as how poorly I used the program for my custom rig assignment)

This is a texture for the roots I created.

When texturing the crystals - all of us decided to try our hands at making our own crystals, and in the end we would use the one we felt was the best suited for the scene.
I went with mia_materia_x as it had glass material presets. Using hues of blue and green through the colour channels, I was able to create this cool, multi faceted and coloured effect by using different colours and transparency (as well as the mia material) in the attribute editor of the object.

I wanted to add a bit more detail to the room and started thinking about what else you'd find in a meditation/quiet room. I assumed that even far out in the universe, aliens might like something more comfortable to sit/lye down upon, and so I created some carpet textures.
*** Moving onto the animation.
This was a troubling exercise mainly because we didn't discuss it much during class and when it came down ot starting the work - the morpheus rig (which I was recommended to use) was completely busted. I downloaded it directly from the devs website, but after opening the scene file in maya, a lot of the controls didn't function. We have a class group chat on facebook and nearly all of us in the class had started working on it on the same day and we were all finding issues with that particular rig. Because most of us didn't expect to have issues straight away, some of us, including myself decided it would save time if we used a different rig. I then tried a couple of alternatives and ended up using one called "ELEVEN".
Eleven is a simple rig but very versitile. The textures aren't too detailed and unfortunately in my viewport, the right eye texture doesn't show up - this would later become a problem as we have to save our animation via a playblast and the playblast captures the viewport window - this makes it looks as though I've done something wrong with the textures but I haven't. This is purely the fault of my version of Maya (as I checked this issue with the others in my class). Once I render the scene, then the textures show up - but I assume that Jody is reading this (because he told us we have to write blogs) and so he'll know that the missing eye isn't my fault.

So this is what I'm talking about. Inside the viewport, the texture for the eye is missing - this is straight vanilla with no adjustments made other than some keyframes for the animation.

Here is the exact same shot, rendered via Maya software (mental ray doesn't work on my computer). As you can see, everything is fine. So again, I hope you've read this and don't mark me down for the eye!
There weren't any real guidelines as to the length of the animation, or what the reaction needs to be other than simply, 'animate according to a sound byte'. All the students had different interpretations of this and so did I. I chose to mimic the popular
meme at the time: Hilary Clinton's ridiculous expression.

The sequence is that she walks out on stage with husband, Bill and as they're walking a song is playing, a 'pop' sound in heard and then balloons fall from the ceiling. Hillary then pulls this ridiculous face. I thought that the music, the sound effect and the expression were absolutely priceless and perfect for this exercise and so that's what I did.
In my final video I even included the video alongside my animation so you can see how I tried to match it up. Of course it's not perfect, but I did my best given the time I had.

This is a frame from the final product.
Next week will be used to finalise the room for my unreal scene and then eventually the showreel.
- Ryan
Comments